Showing posts with label diy project. Show all posts

A Work In Progress - part 1

Saturday, January 25, 2014

Now that the holidays are over and everything is a little bit back to normal we have made to over to The Kamps house to start on some renovations. This is the part that I enjoy the most!!! We started with the upstairs. This is where the kids' bedrooms will be. There is also a bathroom, which is so awesome, since we have 5 people sharing one small bathroom (and a half makeshift in the basement) at the current home. Saying it's cramped is a huge understatement. 

I think that the reason I love the renovation part so much is because with a few weeks of hard work the entire space is transformed into something completely different.

We started by going up there and looking at what worked and what needed to be changed.

What worked........
  • overall layout
  • pluming 
  • windows (well one needed to be replaced)
  • storage (let me tell you, there is a lot)
What didn't work/needed fixing......
  • drywall
  • girls closet
  • no lights in closets
  • everything in the bathroom
  • carpet
  • paint, paint, paint
Other than demolishing the girls closet and bathroom there wasn't anything else that needed to be demoed. The kids closets were so ineffective, they were long and very narrow and did not have lights in them......Really!?!? How did they not put lights in these closets? Caden's closet we just added a light because, well, lets face it he's a boy and will have a dresser . The girls, on the other hand, needed more space. We moved their closet wall out about 12 inches. Believe me that 12 inches made a huge difference!!! And, of course, we added a much needed light. 

This house was built in the early 90's, so all the trim was a little dated and the paint colors, well, they speak for themselves.....My style and philosophy on walls and paint is that the wall color should blend in and the decor on the walls, whatever it may be, should stand out. Yes, there are times that paint is your stand out, but generally paint is not your entire rooms standout. With that being said, I love, love fresh white trim and doors. Using a paint sprayer for the trim, doors and hardware was awesome and such a time saver.


The Before.......
    
Add caption


 Like I said, the paint color speaks for itself!!!


 This is what the girls closet was like before...without all the stuff in it, it still was just not going to cut it for a shared girls room.
The landing

Stairwell

 The bathroom lots of potential with a few updates  
 Wine is a must then you are doing a job this big. :)


 Caden's room 
 Just removing all the stuff made a big difference....
 The little door is to a small attic space that we will make into a storage/play room for the girls. Having the door there really limited what I could use the dormer for, so when we moved the closet wall out we put the attic door in the new closet. :) It works much better and the girls think it's the coolest thing ever!!!

 The start for the closet


 Bathroom with new paint.
 My little trooper...She was such a help when the other kids were at school and we had to go paint. A big thanks to Aunt Ellie for letting her hang out when it was just too much :)
 Girls room repainted....Mint may be a trend but I love it ;)
 No more door
 And there was light!!!
I didn't run out of paint on the back wall I'm waiting for my wallpaper to come in.....so excited!!!!
 New bathroom color
 Caden's room repainted 
 Caden's room is a hodgepodge (is that a word?) of a few different grays that I had and wanted to use up. I think it turned out pretty nice if I do say so myself.

After doing this post Its apparent that I will have to make this a 2 or 3 part series. There is a lot more to do but this was all done in about 2 weeks, and I can honestly say I'm impressed. Hope you all like it, and let me know what you think or if you have any ideas and don't forget to follow us :)  

Mini Christmas House Tour

Thursday, December 5, 2013

Christmas time means so may things to us, of course family, friends, food, and some decorating!!!!! I thought that I would share what my house looks like during Christmas time. 

I also do a few things outside. This I have only been doing for two years but its becoming my favorite. My sweet Grandma goes out and drives around to find the red branched, berries, holly, and greens for me to put in my plants. Bless her heart she loves to see what I come up with. I try to get them done before she leaves for Florida so she can see them. 

Budget.......Well as I've said before I'm dutch. So most all of my Christmas decor comes from you guessed it the Dollar Tree. They really have some awesome stuff but I have learned that you need to go when they get it in (late oct) if not its picked through or they don't have enough of what you may need. Using things that you can find in nature is always cost effective. 

 I love this planter!!! It turned out so cute. It started as an old mail box :) All I did was spray paint it and add my decorations. I also did put a few larger rocks in the bottom so it would weight it down. 
 Of course Pinterest had to come to play this year...tomato cage trees. I looked to find some different ideas and there's a endless amount out there with is what I came up with.  


 I think that I can finely say that I'm done adding stuff to the front yard...but there's always room for more. 
 The Tree
 I love putting up my tree. I may reason is because we get to look through all the ornaments for years past. I have always told people that if there was a fire I'd save my kids first and then my ornaments. We get an ornament from a few different people during the season and it so much fun to look at all of them each year :)


 My entryway....maybe my favorite.

 DIY Wreath
 The kitchen shelves

Well that's a little look into my house during Christmas. Hope you enjoyed it. 

Marry Chirstmas 
and 
Happy New Year

Jennifer 

Ghosts of Halloweens Past

Sunday, November 24, 2013

We love love love Halloween around here. Because we live in West Michigan our Halloween consist of planning a costume that can fit over a snowsuit or trick or treating inside one of the hundreds of churches in our area. 

With that being said, I started making the kids costumes about four years ago. My first costume was for my oldest.....A cereal killer. Clever right?? It was a very simple, easy costume that won him a 25$ gift card in a costume contest :). So, from then on I have made most all of their costumes. 

My wonderful sister found a pea costume at Meijer on clearance for $1.00! Since I make tutu's already, the girls went as The Princess and The Pea. Most of the time I really just want to save money and that's why I make their costumes. Although, over the years the costumes have become more elaborate and I don't save as much money but I do enjoy making them and they're always a great conversation starter.


Here is The Princess and The Pea with their brother, The tuxedo skeleton, and quite possible the cutest little cow you ever did see!!  


Last year the girls and I went as Minnie Mouse!!! They turned out so so cute!! I wasn't blogging then so I didn't get a lot of pictures of how I made them. Here are a few of the ones I did take of homemade Minnie Mouse :)


 I told you it was cute!!!!

Here's a few of the things that I used to make this costume:

  • Red tulle
  • White felt
  • Yellow spray paint
  • Second hand shoes 
  • Black headbands
  • Black fabric (I picked out a sequin one for a little added sparkle!!)
  • Red polka dot fabric for the bow  
  • White socks and gloves
  • Black leggings/tights and sweatshirt 


When making the ears and bow I found that it was much easier and faster to use hot glue.....I can sew a bit but this just made more sense to me :). 

Find some cardboard and make your circles as big as you want the ear to be. Cut a small half moon shape in it so it can sit on the headband nicely. 

I cut out my black fabric about a half inch around the cardboard cut outs and glued them together sequin side in. Then I just turned them right side out. 

I put a little batting in them to make them more full. 

The bow is two rectangles, pinch them together secure it with something (needle and thread, florist wire) then add some ribbon to finish it off. 

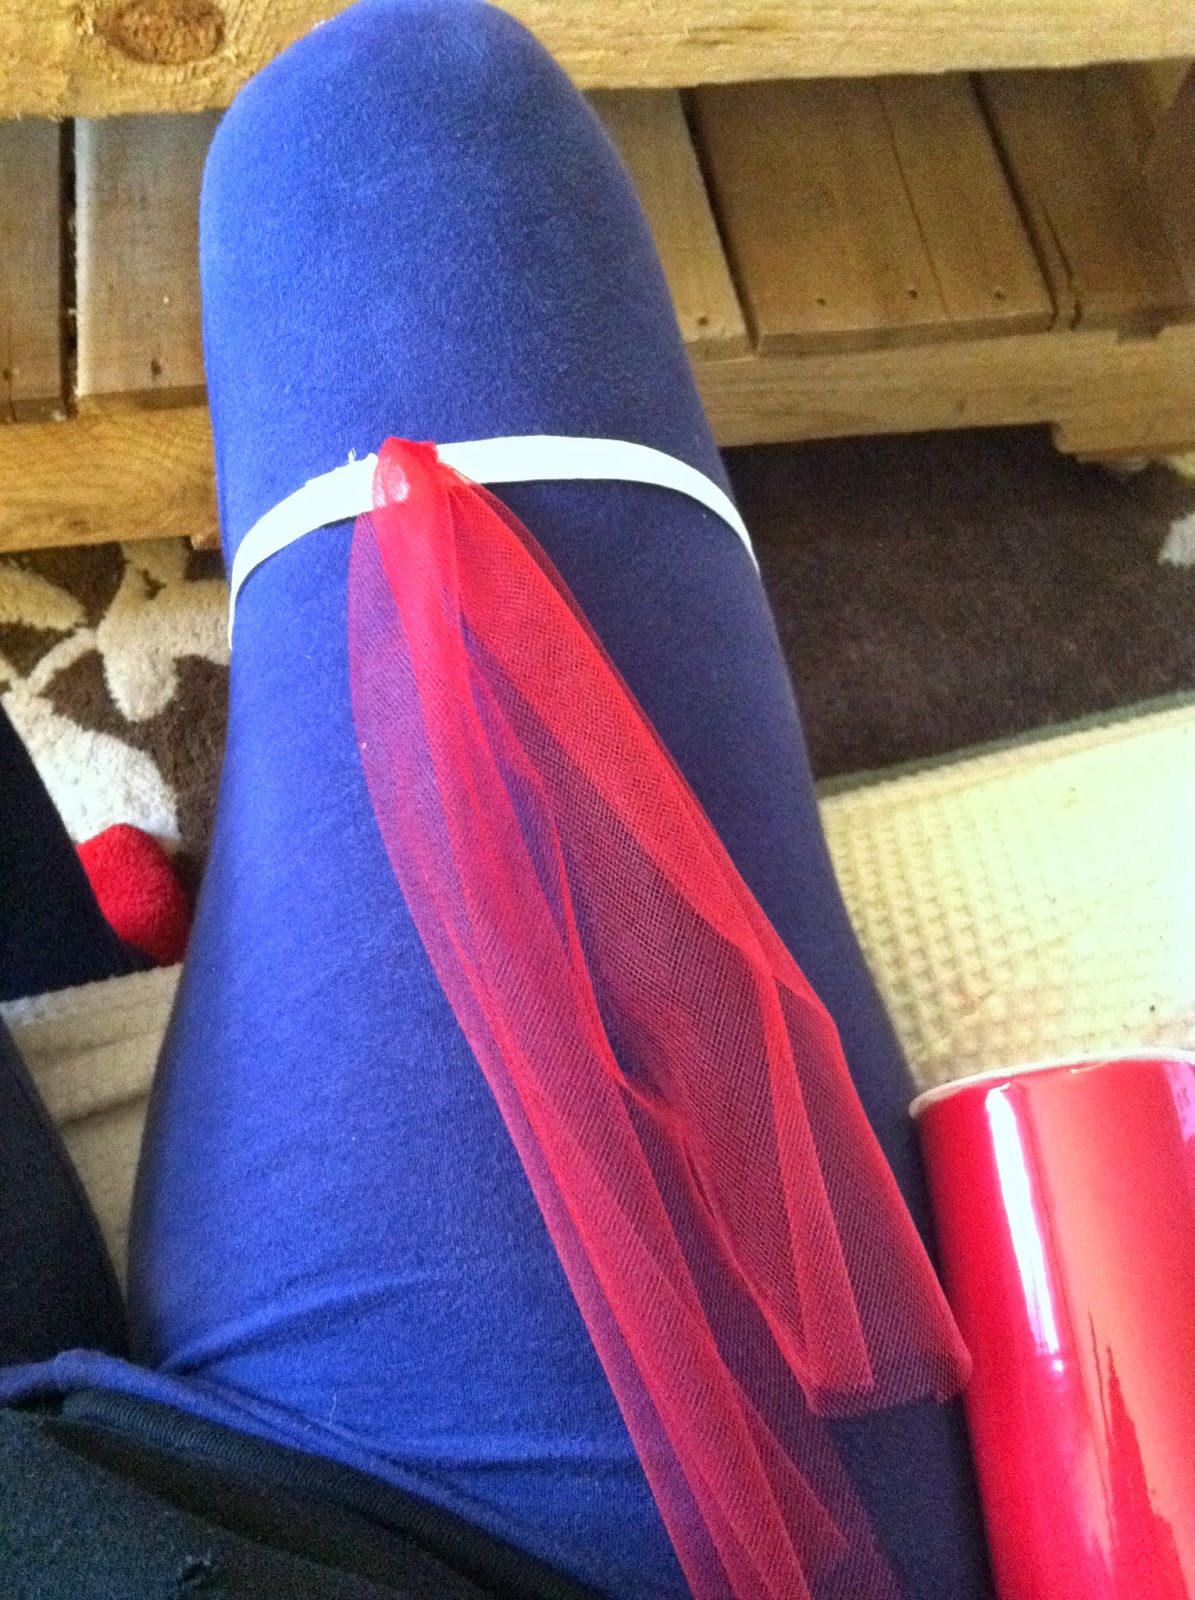
The tutu is a basic style knot tutu and all I did was add felt dots to it with hot glue.

I went to a second hand store and found some old shoes that fit my girls. I used some sand paper on the shoes before I painted them just to help the spray paint stick a bit better.....Not sure if it helped. The paint didn't stay on that well but it worked for what we needed. 

Lastly, I added white socks and white gloves. We already had the black leggings and sweatshirts so that saved us a few dollars :)


So there you have it!!! Hope this tutorial helps you next time you need to make a costume for your kiddos or yourself. If you have any questions please comment!!! And don't forget to follow me :)


Jennifer 


Most Reading